Mechanical keyboards are a popular choice among computer enthusiasts and gamers, known for their tactile feedback, durability, and overall satisfying typing experience. However, just like any electronic device, they are susceptible to spills and water damage.
Whether it’s a cup of coffee, a glass of water, or any other liquid, a spill on your precious mechanical keyboard can be a cause for panic. But fear not! In this blog post, we will explore some essential steps to help you deal with spills and water damage on your mechanical keyboard.
1. Act Fast
As soon as a spill occurs, it is crucial to act swiftly. The first thing you should do is unplug the keyboard immediately to prevent any further damage. This quick action will help minimize the risk of a short circuit or other electrical issues. Remember, time is of the essence, so don’t hesitate! The longer the liquid sits on the keyboard, the greater the chances of irreversible damage. Acting quickly can minimize the potential damage caused by the spill.
2. Turn It Upside Down
After disconnecting the keyboard, turn it upside down to allow any excess liquid to drain out. By doing this, you can prevent the liquid from seeping further into the internal components of the keyboard and reduce the risk of damage. It’s essential to hold the keyboard in such a way that the liquid flows out and doesn’t damage any keycaps or switches. Gently shake the keyboard to facilitate the process.
3. Remove Keycaps and Clean Them Separately
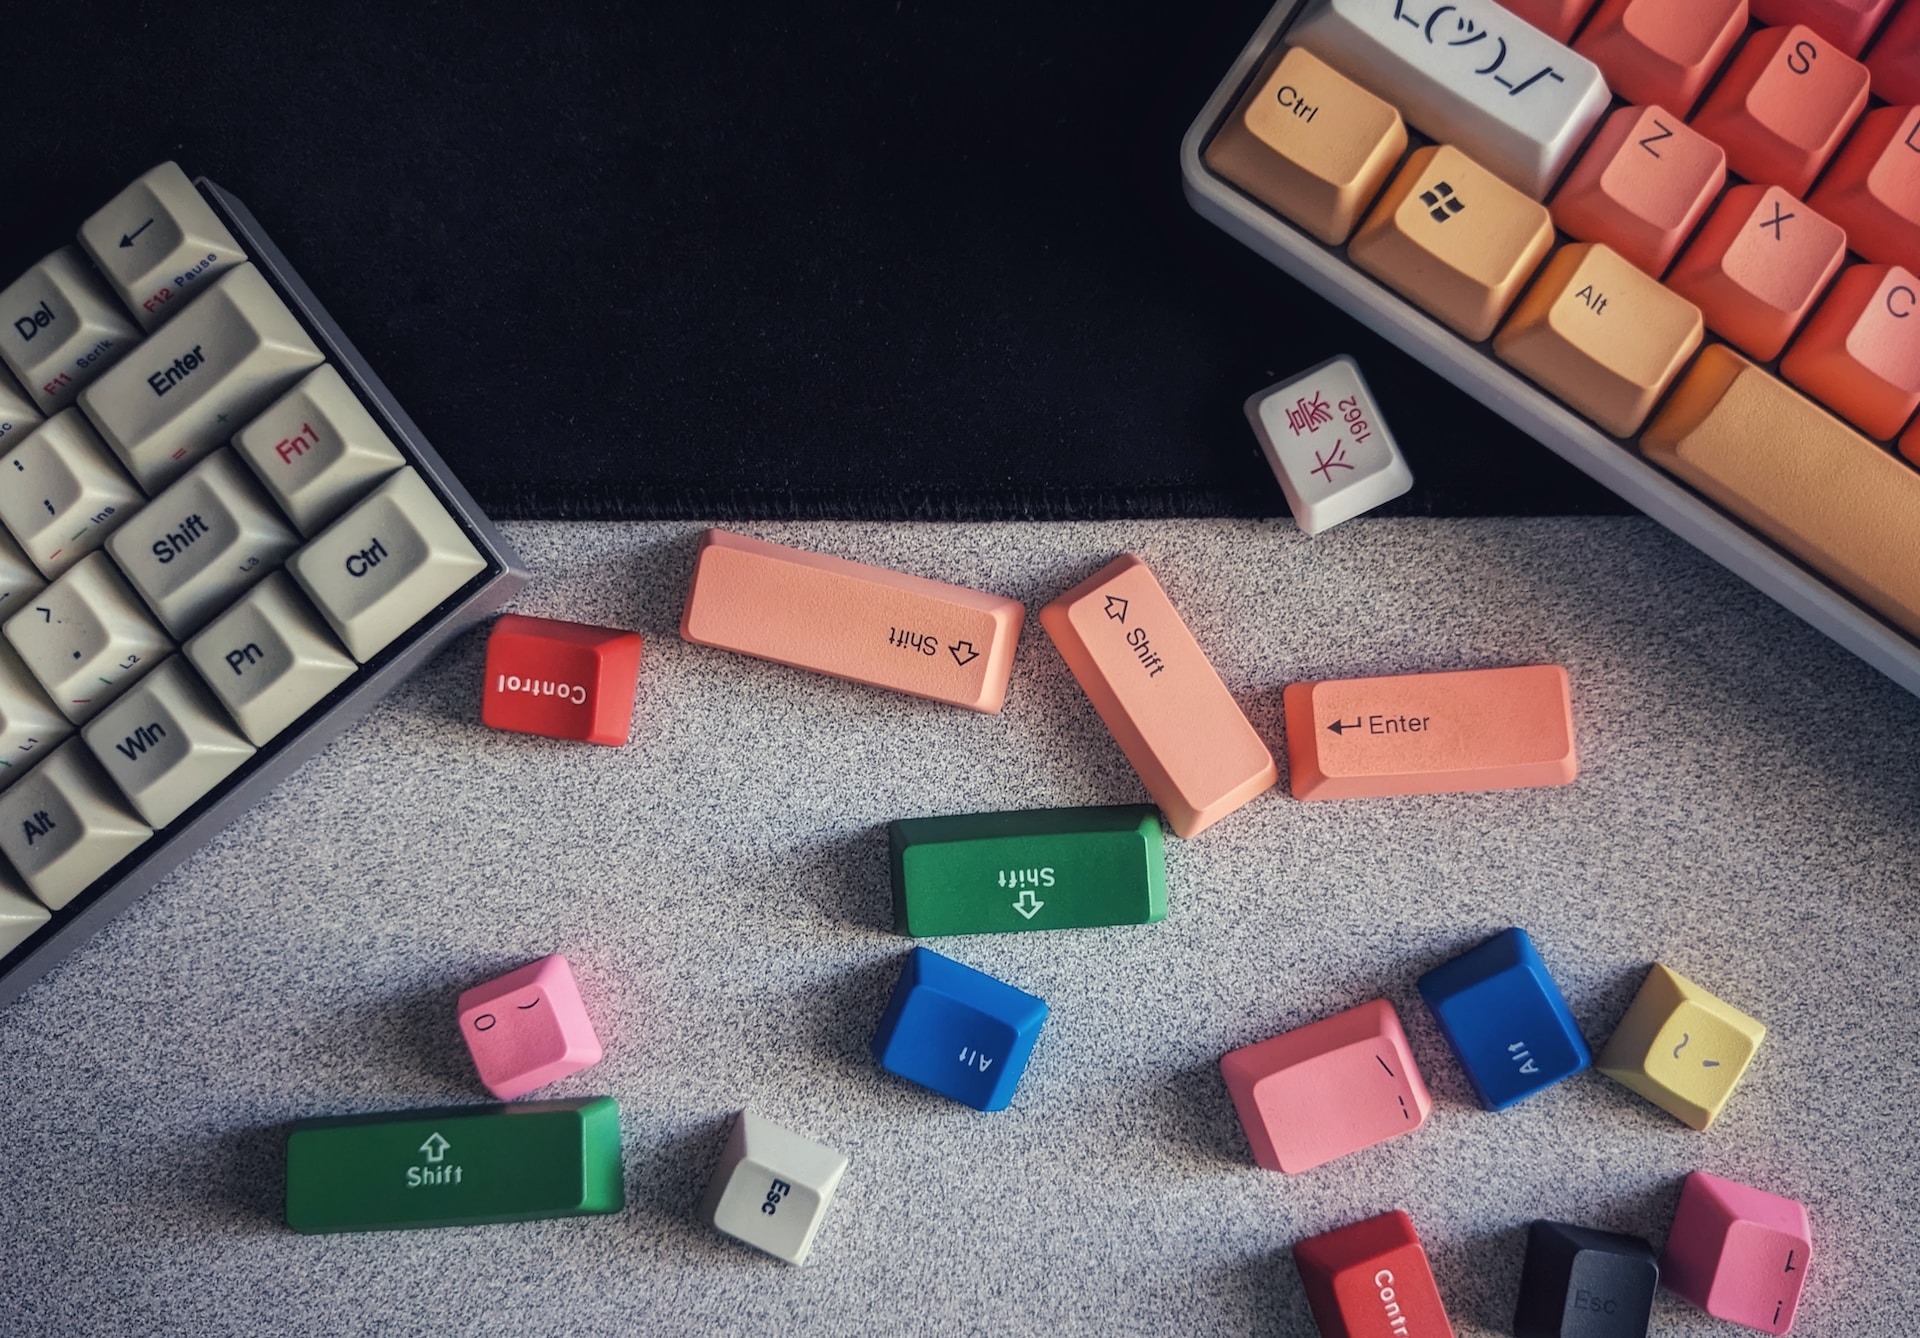
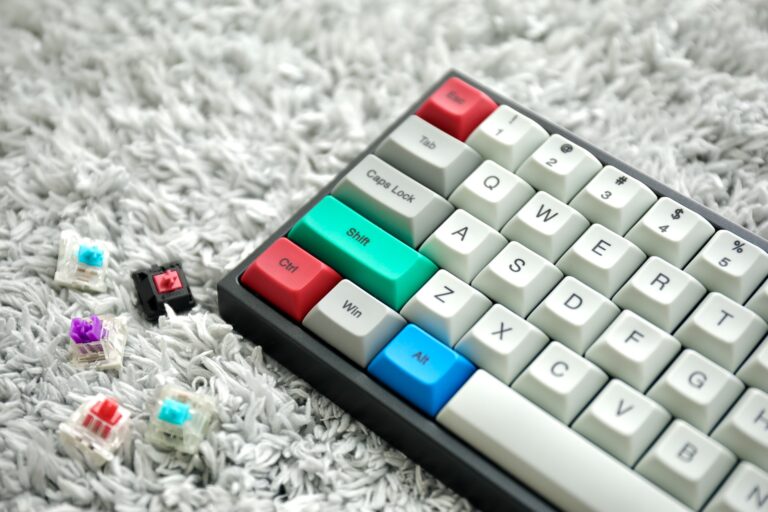
Next, it is recommended to remove the keycaps from your mechanical keyboard. This allows you to access the switches and other components that may have come into contact with the spilled liquid. This step is particularly important for spillage involving sticky substances such as soda or juice.
Carefully pry off each keycap using a keycap puller or a small, flat tool like a flathead screwdriver, ensuring not to damage the switches or the keyboard frame. Once removed, clean the keycaps individually using a mild detergent and warm water. Ensure that you dry them thoroughly before reattaching them to the keyboard.

4. Clean the Keyboard Frame and Switches
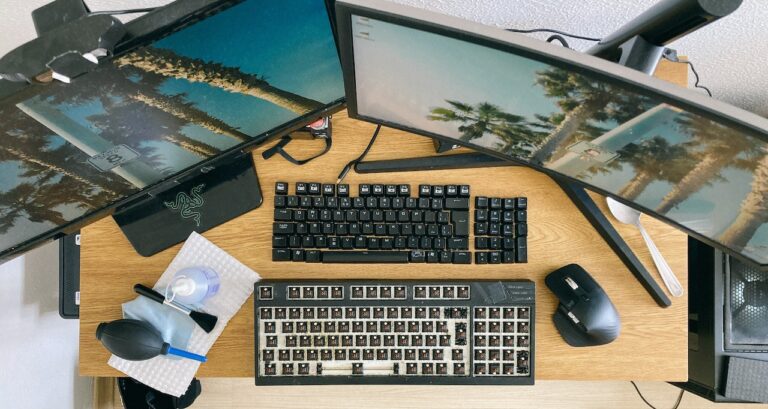
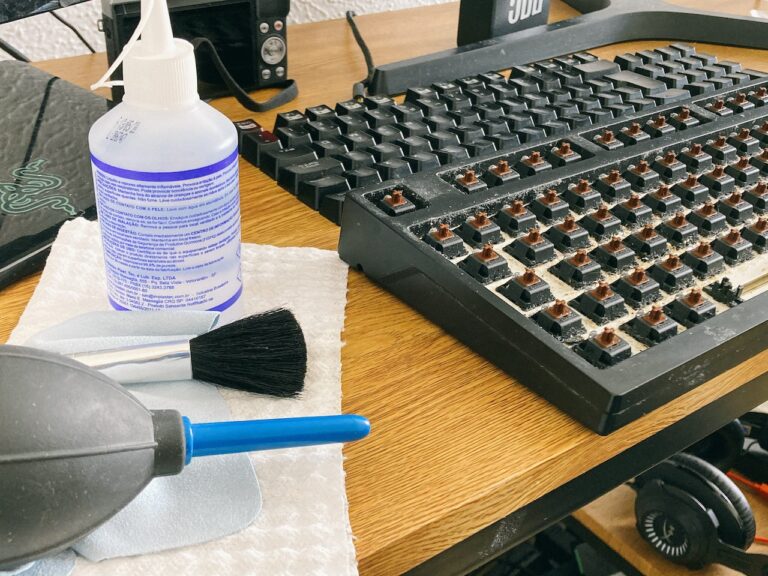
With the keycaps removed, it’s time to clean the keyboard frame and switches. Start by wiping down the keyboard’s surface using a soft, lint-free cloth. For any stubborn residue, you can dampen the cloth with isopropyl alcohol and gently rub the affected areas. However, be cautious not to apply excessive force or use excessive liquid, as this may cause further damage.
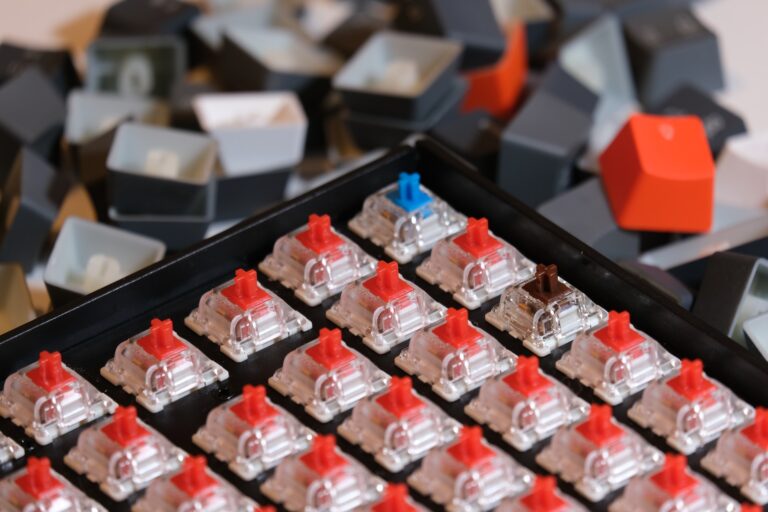
When it comes to cleaning the switches, you have two options. The first option is to use a keycap remover to lift the switch and clean it individually. Alternatively, you can use a straw or a small brush to gently dislodge any debris or liquid that may have gotten inside the switch. Again, if necessary, lightly dampen the brush or straw with isopropyl alcohol for more effective cleaning.
5. For Sticky Situations, Clean with Isopropyl Alcohol
If the liquid spilled on your keyboard was not pure water, there is a higher chance of residue or stickiness. In such cases, you can use isopropyl alcohol with a high percentage (above 90%) to clean the affected areas. Isopropyl alcohol is the go-to cleaning solution for mechanical keyboards. It effectively removes residue and evaporates quickly, minimizing the chances of corrosion. But be cautious not to oversaturate the components with alcohol, as it can potentially damage them. Ensure that the alcohol does not come into contact with the switches directly.
6. Let It Dry Thoroughly
After cleaning, it’s important to allow the keyboard to dry thoroughly before reconnecting it. Place the keyboard in a well-ventilated area and allow it to air dry for at least 24 hours. You can place the keyboard upside down on a towel or use a fan to expedite the drying process. It’s crucial not to rush this step, as any remaining moisture can lead to further damage or malfunction. Avoid using heat sources such as hairdryers, as excessive heat can cause further damage.

7. Test and Troubleshoot
Once the keyboard is completely dry, it’s time to test it. Reconnect it to your computer and check if all the keys are functioning properly. If you notice any issues, such as keys not registering or sticky switches, you may need to perform further cleaning or consider seeking professional help. You can also consider replacing the affected switches or PCB.
8. Prevention is better than cure
To avoid future spills and water damage, it is wise to take preventive measures. Consider using a keyboard cover or a spill-resistant keyboard, especially if you tend to enjoy your favorite beverage while working or gaming. These protective measures can provide an extra layer of defense against accidental spills and help maintain the longevity of your mechanical keyboard. Additionally, make it a habit to keep liquids away from your desk or place them in spill-proof containers.
The Bottom Line
In conclusion, spills and water damage on mechanical keyboards can be distressing, but with proper and timely action, you can minimize the potential harm. Remember to test and troubleshoot after cleaning and consider preventive measures to avoid future mishaps. By following these guidelines, you can increase the chances of saving your beloved mechanical keyboard from irreparable damage.

