Mechanical keyboards have gained significant popularity among professionals, gamers, and typing enthusiasts. The satisfying click of the switches, the smooth keycaps, and the overall tactile experience make it a pleasure to use. However, like any other electronic device, mechanical keyboards require regular maintenance to ensure their longevity and continued performance.
By following a maintenance schedule, you can ensure that your keyboard stays clean, functional, and comfortable to use. So, let’s dive right into it and discuss the key steps you should include in your mechanical keyboard maintenance schedule.
Note: Some of the links here are affiliate links. There’s NO additional cost for you, but it does help our team to earn some coffee money to keep us and you typing.
Daily Maintenance
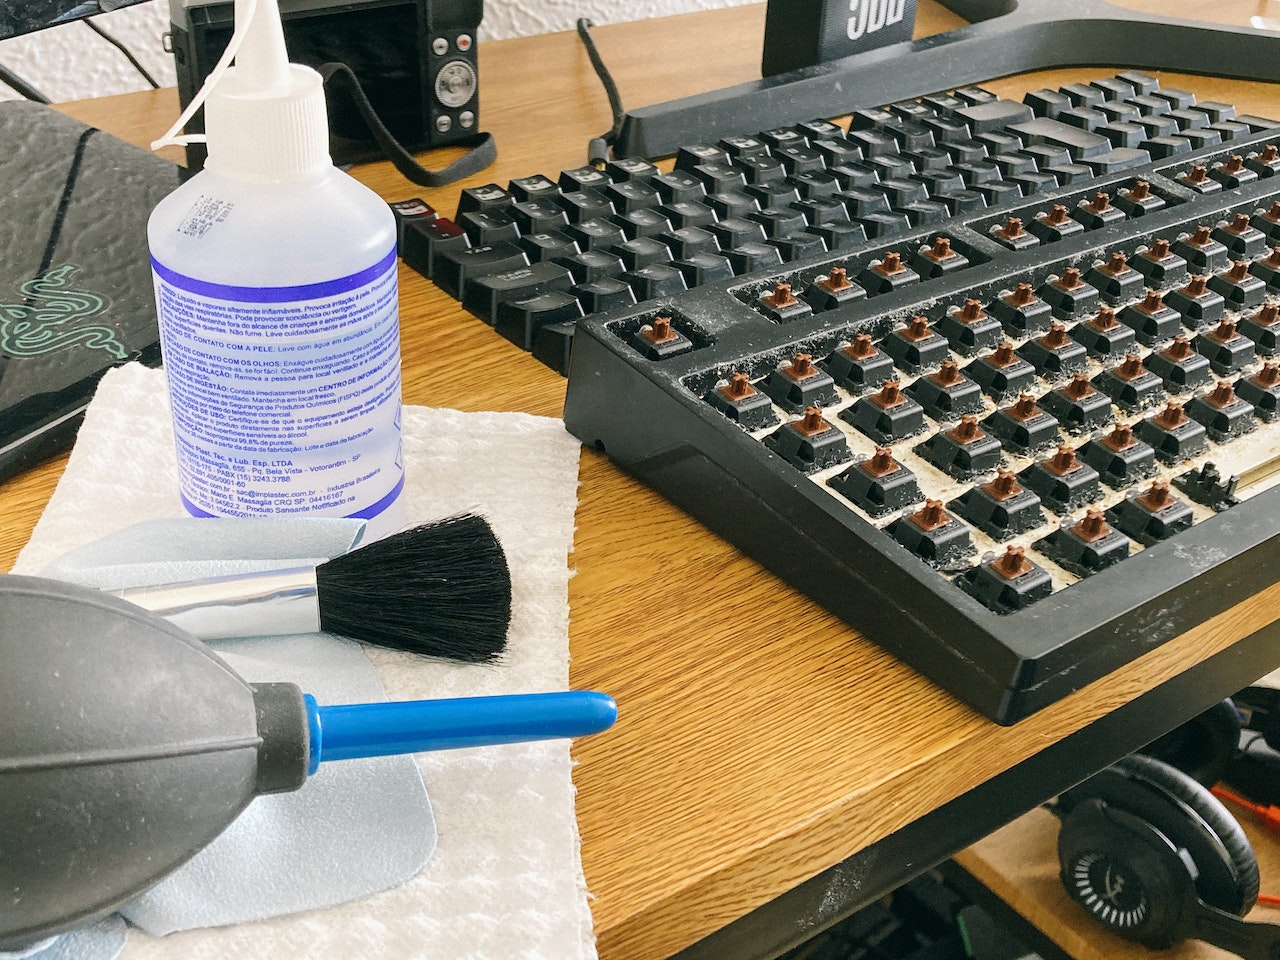
Dust, crumbs, and debris can accumulate over time and cause the keys to stick or become unresponsive. Regular cleaning is vital to keep your keyboard functioning smoothly. Start by removing any dust or debris from your keyboard using a can of compressed air. Hold the keyboard at an angle to allow the debris to fall out easily. Use a soft, lint-free cloth to wipe the keycaps and the surface of the keyboard. You can lightly dampen the cloth with a mild cleaning solution if needed but be sure to avoid getting any liquid into the switches. Pay extra attention to the areas between the keys, as dirt and grime tend to accumulate there. A small brush, like a toothbrush, can be handy for this task.
Weekly Maintenance
1. Keycap Cleaning
Start by unplugging the keyboard and gently removing the keycaps using a keycap puller or a small tool. Take your time to avoid damaging the switches or the keycaps. Fill a bowl with warm water and a few drops of mild dish soap. Place the keycaps in the bowl and let them soak for a few minutes. Gently scrub the keycaps with a soft brush or sponge to remove any dirt or stains. Rinse them thoroughly with clean water and let them dry completely before reattaching them to the keyboard.
While cleaning the keycaps is part of the general cleaning routine, it’s worth mentioning that you should also pay attention to their overall condition. Inspect them for any signs of wear or damage, such as fading letters or cracks. If necessary, consider replacing the keycaps to maintain a clean and visually appealing keyboard.
2. Switch Cleaning
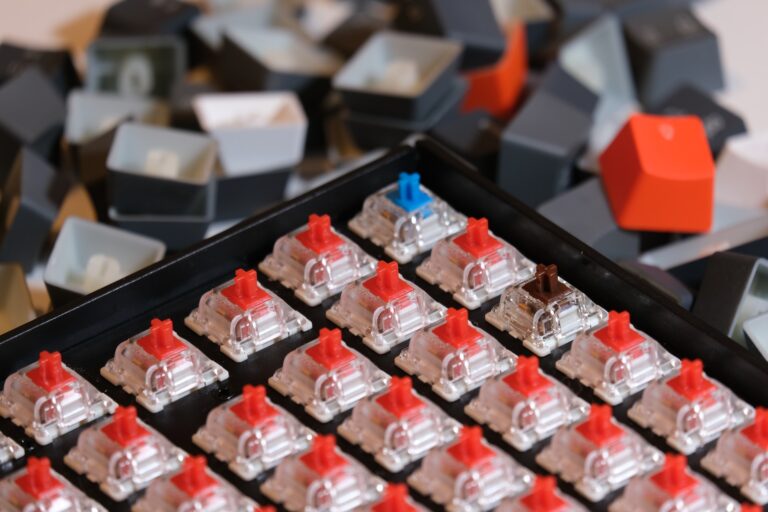
While the keycaps are drying, it’s a good idea to clean the switches. Use a switch opener tool to access the inner components of the switch. Blow away any dust or debris using compressed air. Be careful not to apply too much force as it could damage the switch. If you notice any sticky or unresponsive switches, you can use a small amount of electronic contact cleaner to clean the switch internals. Apply the cleaner sparingly and allow the switch to dry completely before reassembling it.
Monthly Maintenance
1. Lubrication
Lubricating the switches is an essential step to maintain their smooth operation. Over time, the switches can become dry and produce an unpleasant sound. Apply a small amount of switch lubricant to each switch, ensuring that it reaches the inner mechanisms. This will help reduce friction and noise, making your typing experience more enjoyable. Be cautious not to over-lubricate, as it can lead to a mushy feel or even damage the switch. Less is more when it comes to lubrication.
2. Cable Care
Inspect your keyboard’s cable for any signs of wear or fraying. If you notice any damage, it’s essential to replace the cable to avoid any electrical or connectivity issues. Keep the cable clean by wiping it with a soft cloth regularly. Avoid bending or twisting the cable excessively as it can cause internal wire damage.
3. PCB Inspection
Inspect the printed circuit board (PCB) for any signs of corrosion, dirt, or debris. If necessary, use a soft brush and isopropyl alcohol to clean the PCB gently. Ensure the keyboard is completely unplugged before performing any maintenance on the PCB.
Quarterly Maintenance
1. Stabilizer Maintenance
Mechanical keyboards with stabilizer bars should be checked every three months. Remove the keycaps and inspect the stabilizer mechanism for any signs of wear or sticking. Apply a small amount of dielectric grease or stabilizer lubricant to reduce noise and improve stability.
2. Cable Management
Inspect the keyboard cable for any fraying or damage. If you notice any issues, consider replacing the cable to avoid connectivity problems. Additionally, proper cable management can help prevent accidental damage and ensure a clutter-free workspace.
Yearly Maintenance
1. Full Keyboard Cleaning
Once a year, consider fully disassembling your mechanical keyboard for a deep cleaning session. This allows you to access hard-to-reach areas and thoroughly clean the case, plate, and switches. Follow the manufacturer’s guidelines for disassembling your specific keyboard model and be cautious not to damage any components. Follow the steps mentioned earlier for deep cleaning the keycaps and cleaning the switches. Take this opportunity to inspect the keyboard’s frame for any signs of wear or damage.
2. Switch Replacement
Mechanical switches can endure millions of keystrokes, but over time, they may become less responsive or develop issues. If you notice inconsistent key actuation or other switch-related problems, it may be time to replace the affected switches. Many keyboards allow for easy switch swapping, enabling you to maintain your preferred typing experience.
The Bottom
In conclusion, a mechanical keyboard is an investment worth protecting. Implementing a regular maintenance schedule will not only extend the lifespan of your keyboard but also ensure a comfortable and satisfying typing experience. So, take the time to care for your mechanical keyboard, and it will reward you with years of reliable service. Happy typing!


