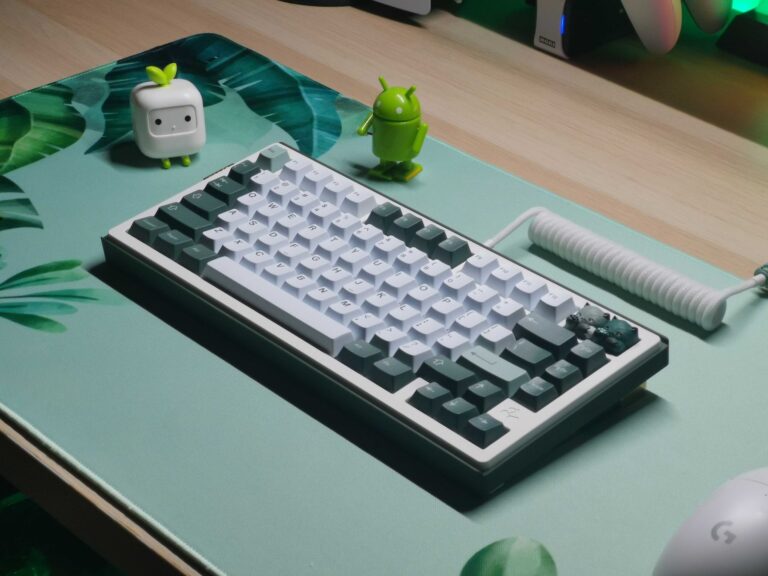
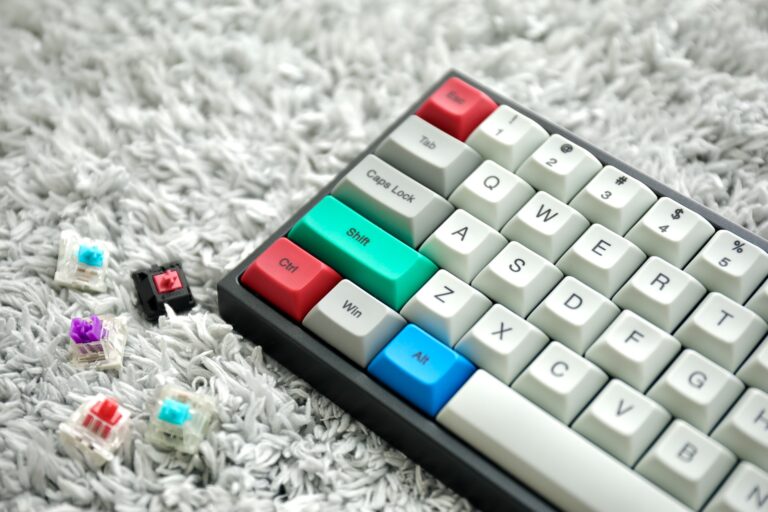
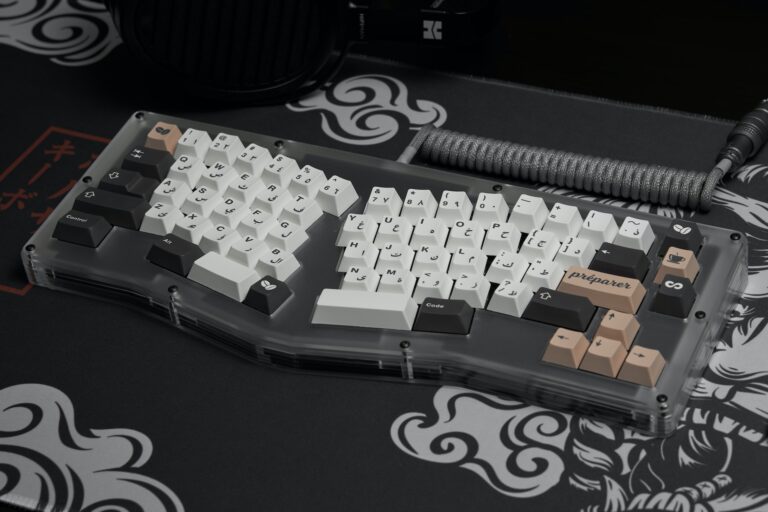
Building your own mechanical keyboard can be an exciting and rewarding experience. Not only do you get to customize every aspect of your typing experience, but you also gain a sense of accomplishment from creating something with your own two hands.
However, like any DIY project, there are bound to be some challenges along the way. From choosing the perfect switches to designing a unique layout, there’s a lot to consider. In this blog post, we will explore some of the common issues that you may encounter while building your own mechanical keyboard and provide tips on how to overcome them.
Note: Some of the links here are affiliate links. There’s NO additional cost for you, but it does help our team to earn some coffee money to keep us and you typing.
1. Missing Components or Damaged Parts
Unfortunately, it’s not uncommon to receive a DIY keyboard kit with missing or damaged components. Before starting your build, carefully inspect all parts and contact the manufacturer or seller if anything is missing or damaged. Most reputable vendors will be happy to help resolve any issues promptly.
2. Switch Compatibility
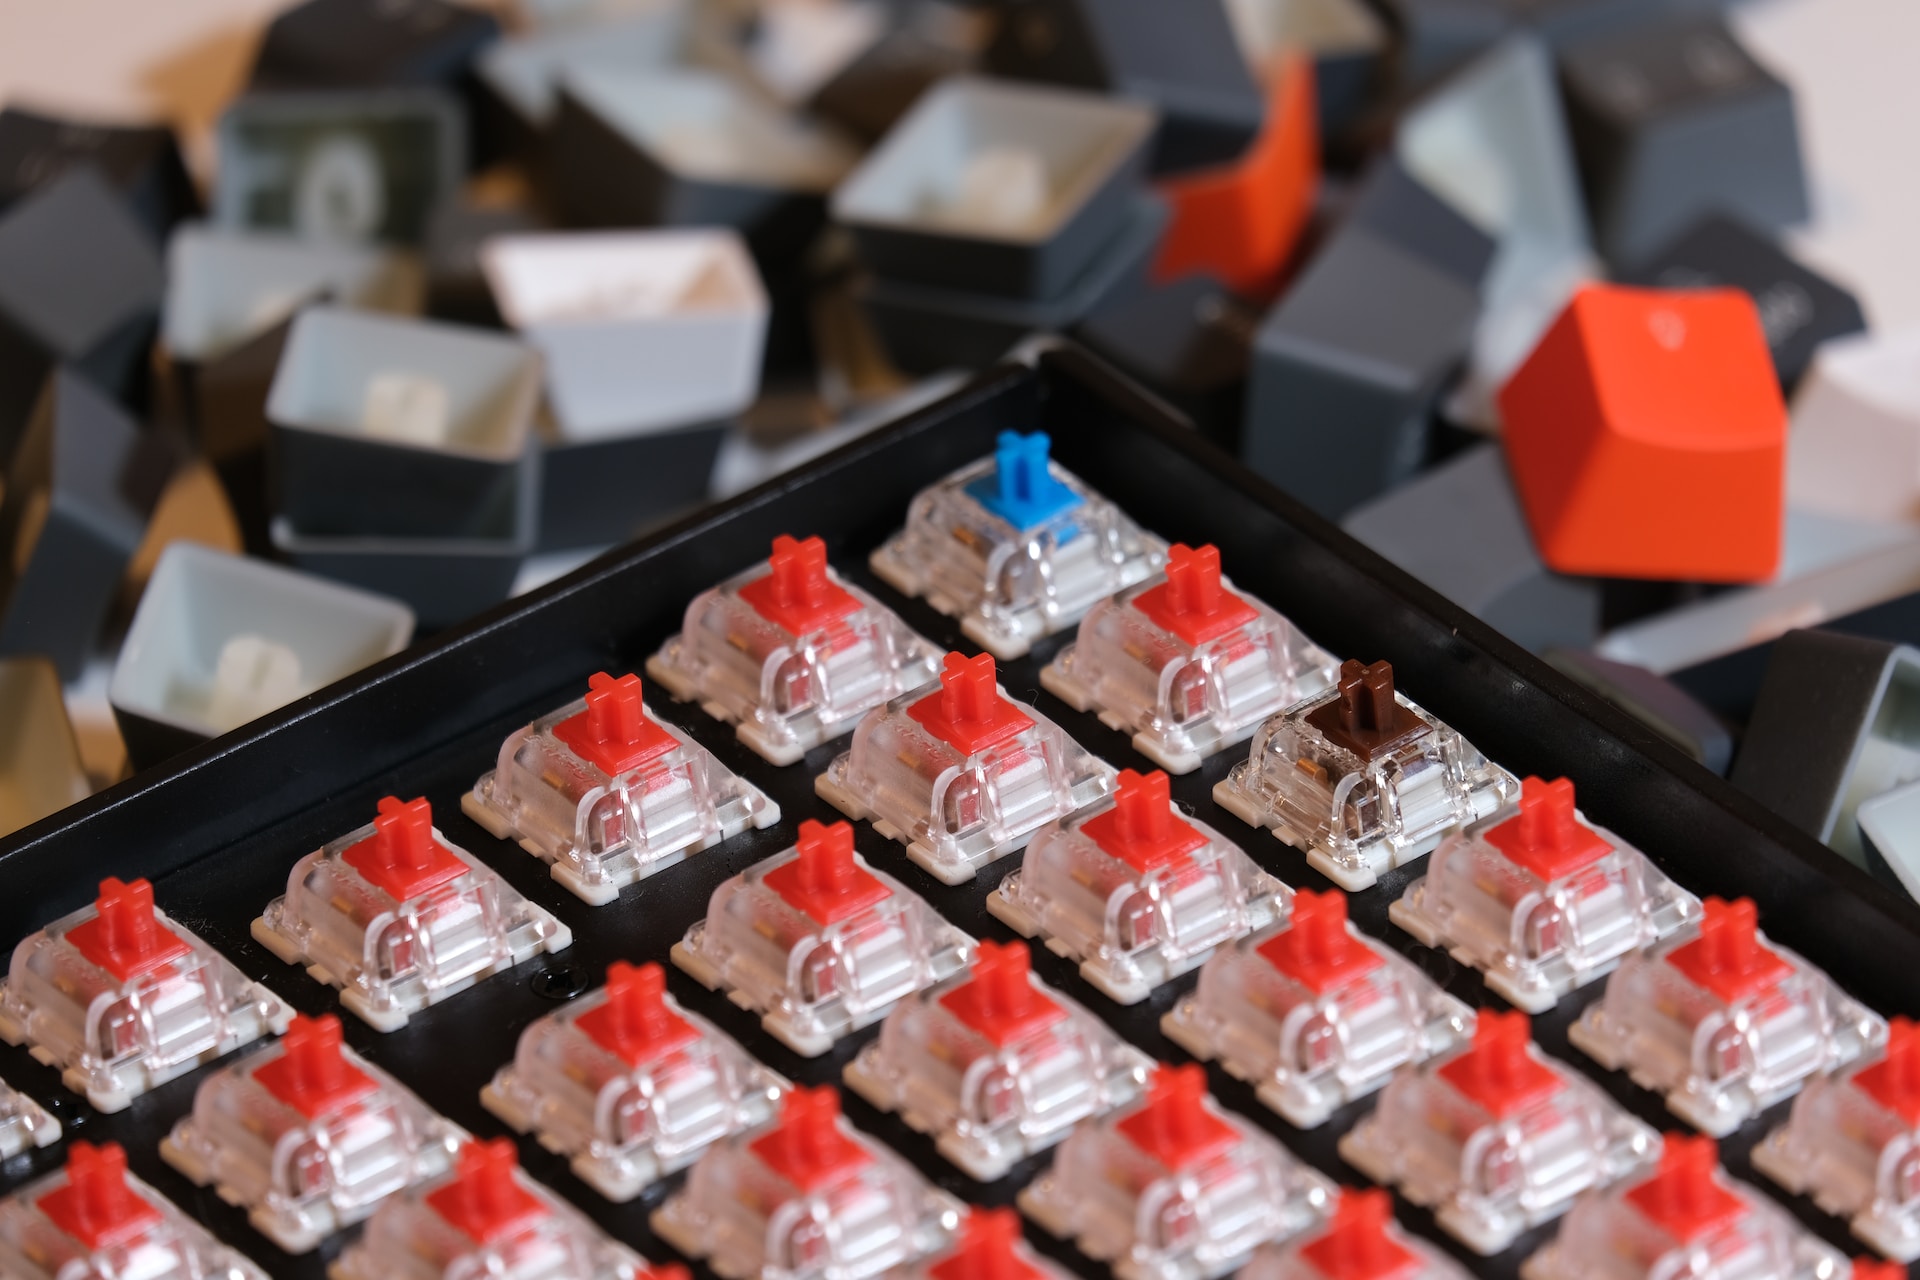
When you are building your own mechanical keyboard, you need to ensure that all the components you choose are compatible with each other. This includes the PCB, switches, keycaps, and stabilizers. One of the first hurdles you may face is ensuring that the switches you choose are compatible with your keyboard PCB (Printed Circuit Board).
Different switches have different pin layouts, so it’s essential to double-check the compatibility before making a purchase. Many online resources and forums can help you determine which switches will work best for your build. If you find that your switches don’t fit, you can use a switch plate or PCB mount adapter to resolve the issue.
3. Soldering Woes
One of the essential steps in building a mechanical keyboard is soldering the switches onto the PCB (printed circuit board). Soldering can be intimidating, especially if you have never done it before. It requires precision and steady hands. The most common issues during soldering include cold joints (insufficient heat transfer) and solder bridges (excessive solder connecting adjacent pins).
If you’re new to soldering, start by practicing on some scrap PCBs or other electronic components before working on your keyboard. Invest in a quality soldering iron with a fine tip and adjustable temperature settings to prevent damage to the delicate keyboard components. Use a flux pen to make soldering easier and watch tutorial videos to improve your technique. Lastly, don’t forget to double-check your connections after soldering to ensure everything is in its place.
4. Keycap Compatibility
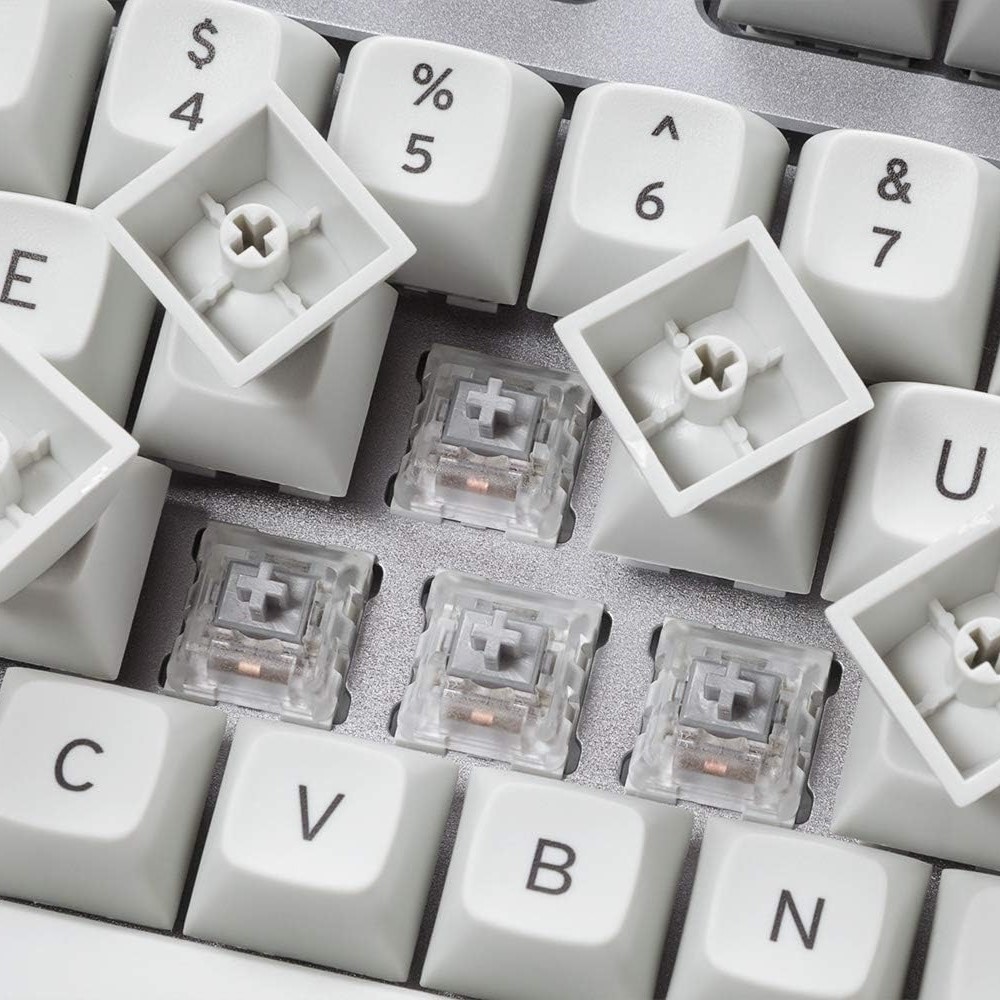
Keycap sets come in various profiles and sizes, and not all keycaps will fit every keyboard layout. Before purchasing keycaps, check the compatibility with your keyboard’s layout, including the bottom row, stabilizer sizes, and any non-standard keys.
Some switches also have non-standard stem sizes or require specific keycap profiles. So, you should also make sure they are compatible with your switches. Websites or forums dedicated to mechanical keyboards can be excellent resources for finding keycap sets that will fit your specific layout.
5. Diode Orientation
Diodes are small electronic components that allow the keyboard to register multiple key presses simultaneously. It’s crucial to pay attention to their orientation during installation, as reversing them can lead to non-functional keys or erratic behavior. Double-check the diode’s markings and follow the PCB’s instructions to ensure they are installed correctly.
6. Stabilizer Rattling
Stabilizers are essential for larger keys like the spacebar and shift keys, but they can sometimes cause an annoying rattling sound. Stabilizers are essential components in mechanical keyboards that ensure the larger keys (such as the spacebar and shift keys) remain stable and consistent during typing. However, stabilizers can sometimes cause issues such as rattling, sticking, or uneven key presses.
Installing stabilizers can be tricky, as they require careful alignment and clipping into the PCB. Watch tutorials or read guides specific to your keyboard model to ensure proper installation and prevent any stability issues. To reduce or eliminate stabilizer rattle, consider applying a thin layer of dielectric grease or lubricant to the stabilizer wires and housing. This will help reduce friction and noise. If the problem persists, you may need to replace the stabilizers or consider alternative stabilizer options recommended by the keyboard community.
7. Case and Plate Alignment
When assembling your keyboard, you may encounter issues with aligning the case and plate. This can result in a warped or misaligned keyboard, affecting the overall aesthetics and functionality. To avoid this, use alignment pins or standoffs to ensure a secure fit. Additionally, double-check that all screws are tightened evenly, as uneven pressure can cause misalignment.
8. Physical Ergonomics
While building your own mechanical keyboard, it’s important to consider the physical ergonomics to ensure a comfortable typing experience. Some common issues include a non-ergonomic layout, lack of wrist support, or improper keycap height.
To address these issues, research ergonomic keyboard designs and layouts that suit your needs. Consider investing in an ergonomic case or wrist rest to provide proper support and reduce strain on your wrists. Additionally, experiment with different keycap profiles before buying to find the one that feels most comfortable for your fingers. You can try some out in tech shops or gaming and tech conventions.
9. Firmware and Programming
Once you have assembled your mechanical keyboard, you will need to configure its firmware, which controls the keyboard’s functionality and customizations. While this opens up endless possibilities, firmware configuration can be challenging, especially if you are new to programming or electronics. You may encounter issues like key mapping errors or unresponsive keys.
To tackle firmware configuration issues, refer to the documentation and guides provided by the keyboard’s manufacturer. Many mechanical keyboards have user-friendly software that simplifies the configuration process.There are plenty of resources available online, including step-by-step guides and pre-built firmware configurations, to help you navigate this process and find solutions to specific firmware issues.
10. Troubleshooting
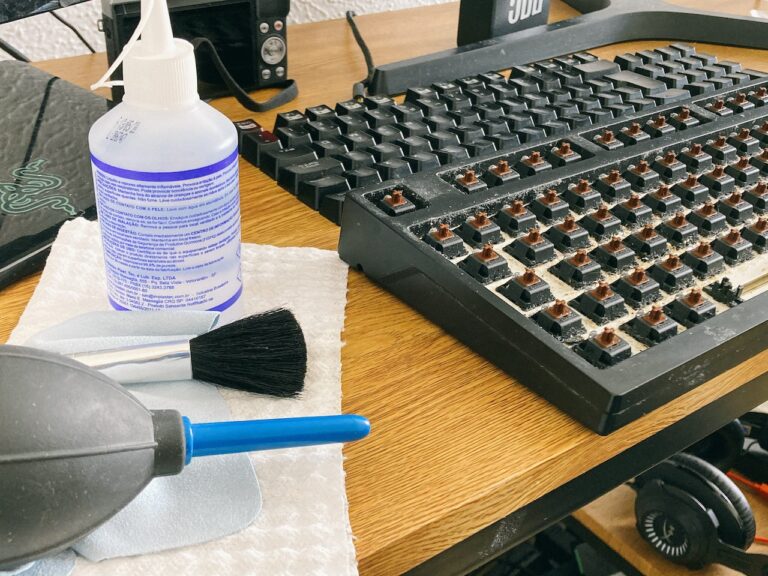
Even with careful planning and execution, issues may arise after completing the build. Non-functional keys, erratic behavior, or connectivity problems can be frustrating to deal with. Patience is key when troubleshooting. Start by checking your soldering joints, inspecting the PCB for any visible damage, and consulting online communities for assistance. Often, someone else has encountered a similar issue and can offer guidance.
The Bottom Line
Building your own mechanical keyboard is a journey that requires patience and perseverance. While these common issues may arise, remember that they are part of the DIY experience. Remember to be thorough in your research, seek advice from the community, and approach each issue as an opportunity to learn and improve your skills. With perseverance and dedication, you’ll soon enjoy the satisfaction of typing on a keyboard that you built with your own hands. Happy building!

