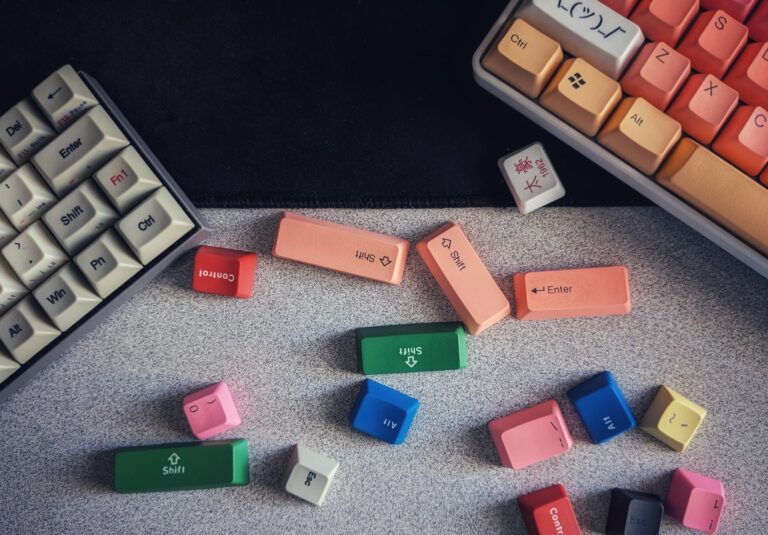
Mechanical keyboards have become increasingly popular among computer enthusiasts and professionals alike. However, whether you are a gamer, programmer, or simply someone who spends hours typing away on their computer, it’s important to keep your mechanical keyboard clean and well-maintained to ensure its longevity and optimal performance. In this blog post, we will discuss the importance of cleaning and preventative maintenance for mechanical keyboards, as well as provide you with some helpful tips and tricks to keep your keyboard in top-notch condition.
Note: Some of the links here are affiliate links. There’s NO additional cost for you, but it does help our team to earn some coffee money to keep us and you typing.
Why Cleaning and Maintenance Matter
Mechanical keyboards are known for their intricate design and construction, which makes them more prone to accumulating dust, dirt, and debris. Over time, these particles can build up and affect the performance of your keyboard, leading to sticky or unresponsive keys, inconsistent typing experience, and even hardware failure.
Regular cleaning and preventative maintenance not only help to keep your keyboard looking and feeling fresh, but also extend its lifespan. By taking care of your mechanical keyboard, you can ensure that it continues to deliver a satisfying typing experience for years to come.
Note: Some of the links here are affiliate links. There’s NO additional cost for you, but it does help our team to earn some coffee money to keep us and you typing.

Cleaning Tools and Techniques
Before diving into the cleaning process, it’s important to note that each keyboard is different, so it’s always a good idea to refer to the manufacturer’s instructions or consult a professional if you’re unsure about any specific cleaning instructions. With that said, here are some general tools and techniques that can be used for cleaning mechanical keyboards:
1. Regularly Dust Your Keyboard
Dust is a common enemy for any electronic device, including mechanical keyboards. Regularly dusting your keyboard can help prevent dust buildup and keep it in optimal condition. Use a soft, lint-free cloth or a microfiber cloth to gently wipe the surface of the keys and the keyboard base. Avoid using harsh chemicals or abrasive materials that may scratch the surface.
You can also remove loose debris and dust by using a can of compressed air to blow away any particles that may be stuck between the keys or in hard-to-reach areas. Ensure you hold the can upright and use short bursts of air to prevent any potential damage.
2. Regularly Clean the Keycaps
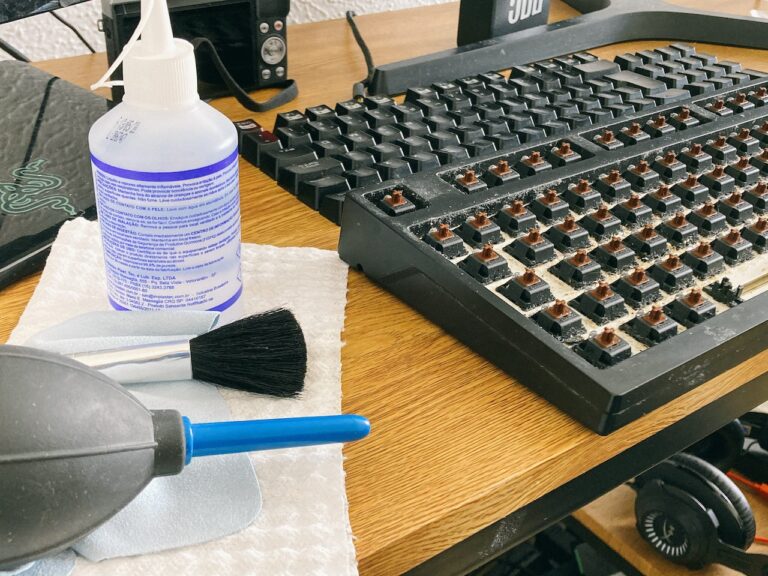
Over time, dirt, dust, and grime can accumulate on the keycaps, affecting the overall look and feel of your keyboard. To clean the keycaps, start by removing them from the keyboard. You can use a keycap puller or a small tool like a paperclip. Once removed, soak the keycaps in warm soapy water for a few minutes or a keyboard-specific cleaning solution. Use a soft brush or toothbrush to scrub away any dirt or stains. Rinse the keycaps thoroughly and let them air dry before reattaching them to the keyboard.
3. Clean the Keyboard Base
While cleaning the keycaps, don’t forget to pay attention to the keyboard base as well. Turn the keyboard upside down and gently tap it to dislodge any loose debris. Use a can of compressed air to blow away any remaining dust or particles from between the keys. Be careful not to shake the keyboard too vigorously as it may damage the internal components.
4. Use a Cleaning Solution for Stubborn Stains
If you encounter stubborn stains or marks on the keycaps or the keyboard base, you can use a mild cleaning solution. Mix equal parts of isopropyl alcohol and water in a spray bottle. Lightly dampen a microfiber cloth with the cleaning solution and gently wipe the affected areas. Remember to be gentle when cleaning and avoid using excessive force or moisture as it may seep into the switches and cause damage. Always ensure that the keyboard is unplugged before cleaning.
6. Clean the Switches
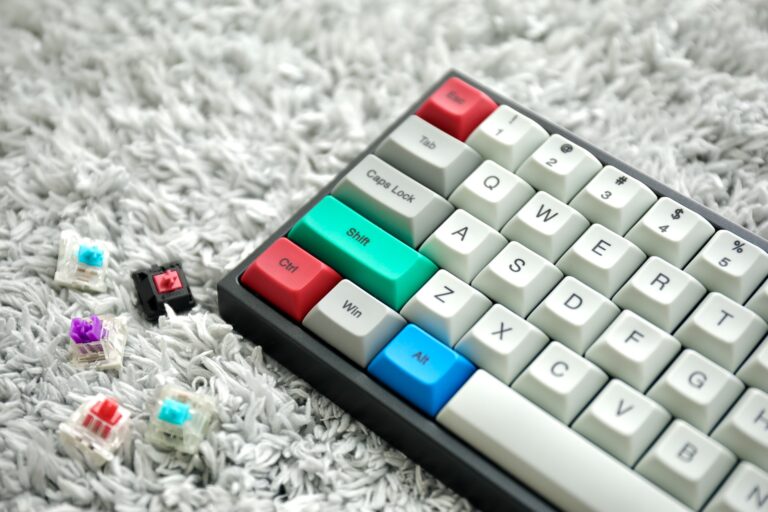
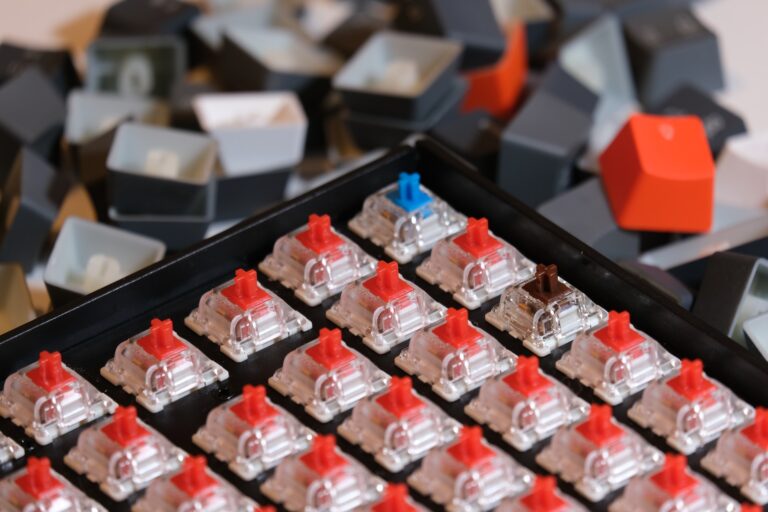
If you notice that your keys are sticking or not registering properly, it may be necessary to clean the switches themselves. This process can vary depending on the type of switches your keyboard has, so it’s essential to refer to the manufacturer’s instructions for guidance. In general, using a switch-specific cleaning solution or isopropyl alcohol on a cotton swab can help remove any dirt or debris that may be affecting the switch’s performance.

Preventative Maintenance Tips
In addition to regular cleaning, there are a few preventative maintenance tips you can follow to ensure the long-term health of your mechanical keyboard:
1. Avoid Eating or Drinking Near your Keyboard
Food crumbs and liquid spills can cause significant damage to your keyboard, so it’s essential to practice good habits. Avoid eating or drinking near your keyboard, as accidental spills can cause liquid to seep into the switches, resulting in malfunction or damage. If you must have food or drink at your desk, use a spill-resistant keyboard cover or place a small towel or napkin underneath your keyboard for added protection.
2. Store your Keyboard Properly
When not in use, it’s important to store your keyboard properly to prevent dust accumulation and potential damage. Consider investing in a keyboard dust cover or simply cover it with a clean cloth or plastic bag. Store it in a cool, dry place away from direct sunlight and extreme temperatures.
3. Regularly Wash Your Hands
Clean hands reduce the transfer of oils, dirt, and grime to your keyboard, helping to keep it cleaner for longer. This is especially important for those who like to snack while on the computer. You wouldn’t want to deal with ants too, would you?
The Bottom Line
In conclusion, taking care of your mechanical keyboard is essential to maintain its performance and longevity. Regular cleaning, deep cleaning when necessary, and implementing preventative maintenance practices will keep your keyboard looking and functioning like new. Remember, a well-maintained keyboard not only enhances your typing experience but also prolongs the lifespan of your investment.


