Welcome to the ultimate guide on building your very own mechanical keyboard! If you’re tired of using generic keyboards that fail to meet your specific typing needs, then you’ve come to the right place. In this comprehensive guide, we’ll take you through a step-by-step journey, where you’ll learn everything you need to know about creating a customized typing experience that is tailored to your preferences.
Note: Some of the links here are affiliate links. There’s NO additional cost for you, but it does help our team to earn some coffee money to keep us and you typing.
1. Understand the Components of a Mechanical Keyboard
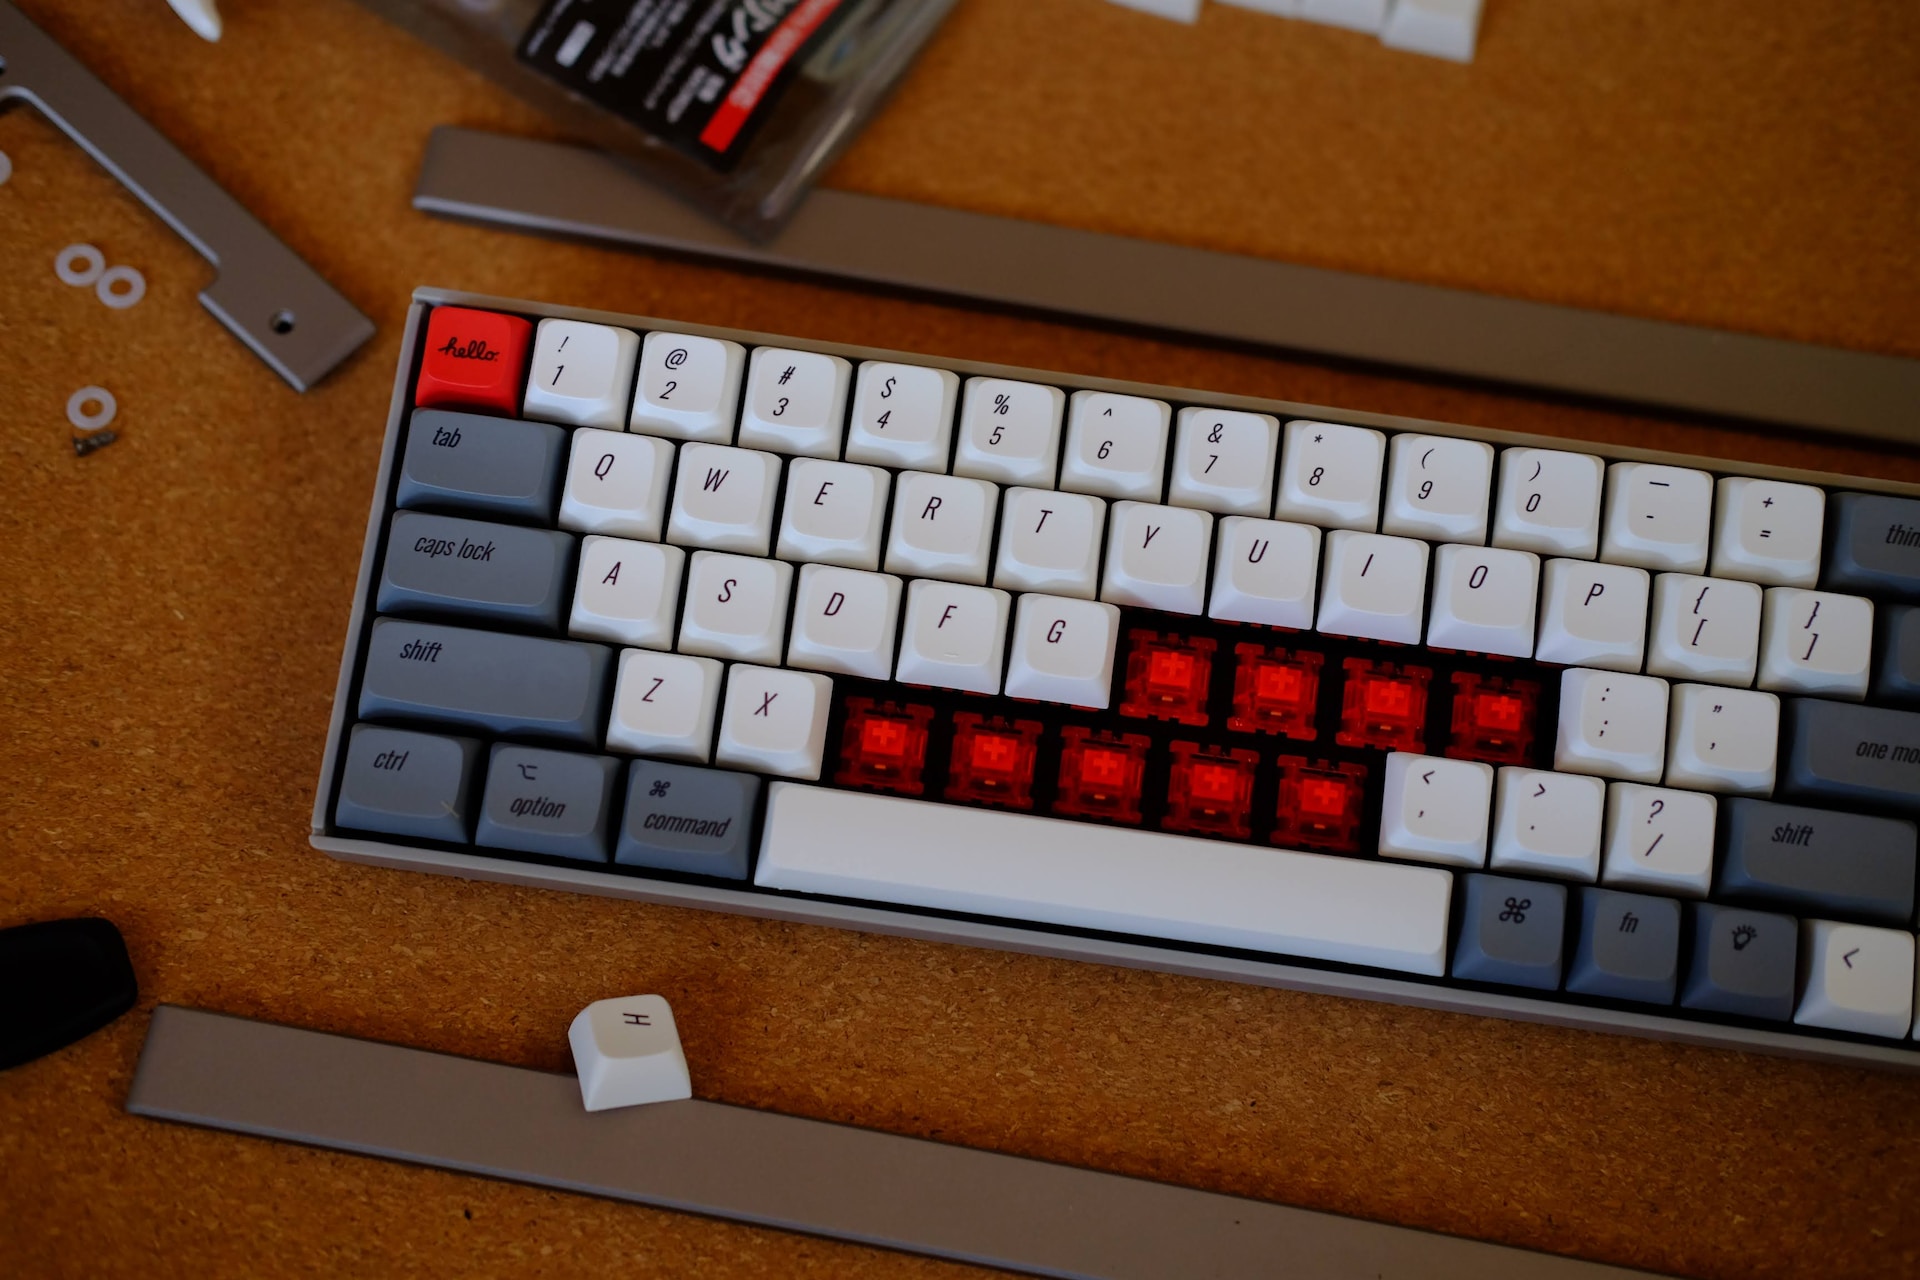
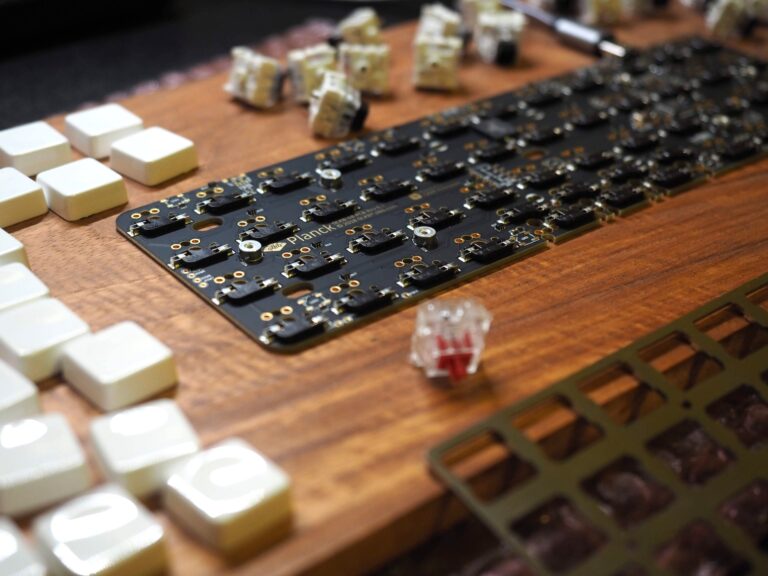
Before diving into the exciting world of building your own mechanical keyboard, it’s essential to understand the different components that make up this intricate device. A mechanical keyboard consists of several key elements: the switches, keycaps, printed circuit board (PCB), stabilizers, and the keyboard case. Each component plays a crucial role in determining the overall feel, sound, and functionality of your keyboard.
Understanding these components will give you a solid foundation as you embark on your journey to build your own mechanical keyboard. With this knowledge, you can make informed decisions when selecting the right components for your desired typing experience. Now, let’s move on to choosing the perfect switches for your needs.
2. Choose the Right Switches
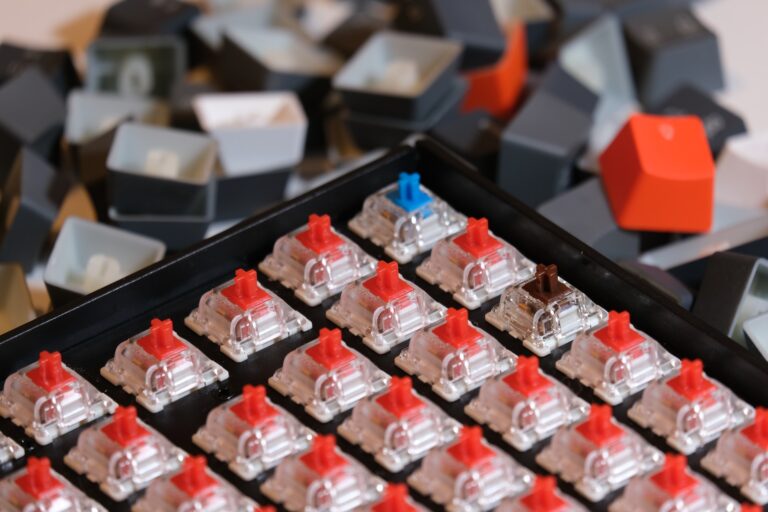
When it comes to building a mechanical keyboard, one of the most important decisions you’ll make is choosing the right switches. Switches determine the feel and sound of your keyboard, so it’s essential to select ones that align with your typing preference. There are three main types of switches: linear, tactile, and clicky.
To choose the right switches, consider your typing style, whether you prefer a silent keyboard or enjoy the audible feedback, and the level of resistance you desire. It’s also helpful to try out different switches before making a decision, as personal preference plays a significant role in determining the best switch for you. Keep in mind that there are various switch options available from different manufacturers, each offering their unique characteristics. Take the time to research and explore the options to find the perfect switches for your customized typing experience.
3. Select A Keyboard Layout
The layout refers to the arrangement of keys on the keyboard, including the placement of special keys like the function keys, arrow keys, and navigation cluster. Common keyboard layouts include the standard ANSI layout, which is widely used in the United States, and the ISO layout, which is popular in Europe. ANSI and ISO layouts differ primarily in the shape and position of the enter key, as well as the placement of certain symbols. It’s essential to choose a layout that matches your typing habits and is compatible with the keycaps and keycap sets you plan to use.
4. Decide What Size You Want
The size of the keyboard determines the number of keys and the overall footprint of the keyboard. Mechanical keyboards come in various sizes, ranging from full-size keyboards with a number pad to compact 60% keyboards with no dedicated arrow keys or function keys. The size you choose will depend on your specific needs and preferences. If you require a numpad for numerical input or frequently use the arrow keys, a full-size or tenkeyless (TKL) keyboard may be the right choice. On the other hand, if you value portability and desk space, a compact layout like a 60% or 75% keyboard may be more suitable.
5. Gather the Necessary Tools and Materials
Building a mechanical keyboard requires a few essential tools and materials to ensure a smooth and successful assembly process. Before you begin, make sure you have the following items:
- Soldering Iron: This tool is used to solder the switches onto the PCB. Choose a soldering iron with adjustable temperature settings to prevent damage to the switches and PCB.
- Solder Wire: High-quality solder wire is crucial for creating reliable electrical connections between the switches and the PCB. Look for lead-free solder with a diameter of around 0.8mm to 1.0mm.
- Diagonal Cutters: These pliers with a cutting edge are necessary for trimming excess leads from the switches after soldering. Opt for a pair with a sharp cutting edge for clean cuts.
- Switch Puller: A switch puller is a small tool used to remove switches from the PCB. It helps with switch swapping or troubleshooting if needed.
- Keycap Puller: This tool is used to remove keycaps from switches without damaging them. Keycap pullers come in various shapes, including wire-style and ring-style. Choose one that is compatible with your keycap design.
- PCB Mount Stabilizers: Stabilizers ensure smooth and even key movement, particularly for larger keys. Make sure you have the appropriate stabilizers for your keyboard layout.
- Screwdriver Set: Depending on the keyboard case you choose, you may need different types of screwdrivers to assemble the keyboard. Invest in a versatile screwdriver set that includes various sizes and types of screwdriver heads.
- Lubricant: Lubricating your stabilizers and switches can significantly improve the overall typing experience by reducing friction and noise. Look for a suitable lubricant specifically designed for mechanical keyboards.
In addition to these tools, you’ll also need the necessary components for your keyboard, including the switches, keycaps, PCB, stabilizers, and the keyboard case. Ensure that you have all the required items before starting the assembly process to avoid delays or interruptions. With everything prepared, you’re ready to begin building your own mechanical keyboard!
6. Prepare the Keyboard Case and PCB
First, ensure that the keyboard case is clean and free from any dust or debris. Use a soft cloth or compressed air to remove any particles that may affect the assembly process or the final appearance of your keyboard. If your keyboard case includes any removable parts, such as a top plate or bottom plate, remove them to access the interior of the case.
Next, inspect the PCB for any visible defects or damage. Check for any loose components or solder joints that may need reflowing. If you notice any issues with the PCB, contact the manufacturer for assistance or consider replacing it if necessary. It’s crucial to start with a high-quality and fully functional PCB to ensure a smooth and successful assembly process.
7. Install the Switches and Stabilizers
To install the switches, start by holding the switch upside down and aligning the pins with the corresponding holes on the PCB. Gently push the switch into place until it clicks or snaps into position. Repeat this process for each switch until all the switches are installed. Take your time during this step to ensure that each switch is properly aligned and fully seated.
To install the stabilizers, start by inserting the wire into the corresponding slots on the PCB. Then, place the stabilizer housing over the wire, ensuring that it fits securely into the PCB. Repeat this process for each stabilizer until all are installed.
Once the stabilizers are in place, it’s important to test the functionality of the switches and stabilizers before proceeding to the next steps. Connect the PCB to your computer and open a text editor or a keyboard tester website. Press each key to ensure that it registers correctly and produces the desired output. Check for any keys that may be sticking or not registering properly. If you encounter any issues, double-check the alignment and seating of the switches and stabilizers.
8. Customize Keycaps and Keycap Profiles
When selecting keycaps, consider the material, profile, and design that best suits your preferences. You can choose from a wide range of keycap sets available online, or even opt for individual keycaps to create a truly customized look. Experiment with different materials, profiles, and designs to find the perfect keycaps that enhance your typing experience and reflect your personal style.
9. Assemble the Keyboard and Test Functionality
With the switches, stabilizers, and keycaps in place, it’s time to assemble the keyboard and test its functionality. Carefully place the PCB with the installed switches and stabilizers into the keyboard case, ensuring that it aligns with the mounting holes and screw inserts. If your keyboard case requires screws, use the appropriate screwdriver to secure the PCB in place. Take your time during this step to ensure that the PCB is properly aligned and securely fastened to the keyboard case.
Once the keyboard is assembled, connect it to your computer and test its functionality. Open a text editor or a keyboard tester website and press each key to ensure that it registers correctly and produces the desired output. Pay attention to any keys that may be sticking or not registering properly. Additionally, test the functionality of any special keys or function layers that may be present on your chosen keyboard layout.
If you encounter any issues during the testing phase, double-check the alignment and seating of the switches and stabilizers. Ensure that all connections are secure and that there are no loose components or solder joints on the PCB.
The Bottom Line
In conclusion, building your own mechanical keyboard can be a rewarding and fulfilling project for keyboard enthusiasts or anyone looking to personalize their typing experience. Whether it’s for increased typing efficiency, improved gaming performance, or simply for the joy of crafting something unique, building your own mechanical keyboard allows you to take control of your typing experience and create a keyboard that truly reflects your individuality. So, if you’re up for the challenge, go ahead and embark on the journey of building your own mechanical keyboard – you won’t be disappointed!

