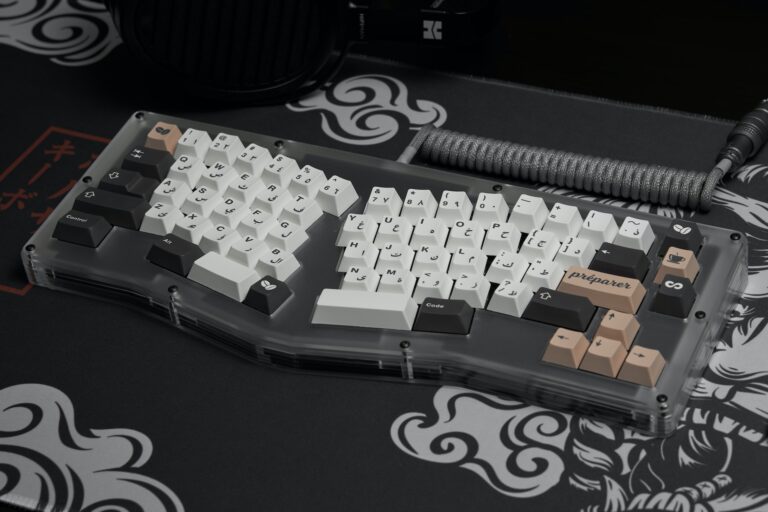
Are you tired of typing on a generic, mass-produced keyboard that doesn’t quite meet your needs? Do you yearn for a personalized typing experience that matches your unique style and preferences? If so, then building your own mechanical keyboard might be the perfect solution for you.
A mechanical keyboard is not just a standard keyboard. It is a work of art that you can design and build to suit your specific needs and preferences. From the type of switches to the keycaps and even the layout, every aspect of the keyboard can be tailored to your liking. But where do you start? What do you need to build your own mechanical keyboard? Let’s dive in and find out.
Note: Some of the links here are affiliate links. There’s NO additional cost for you, but it does help our team to earn some coffee money to keep us and you typing.
1. Mechanical Switches
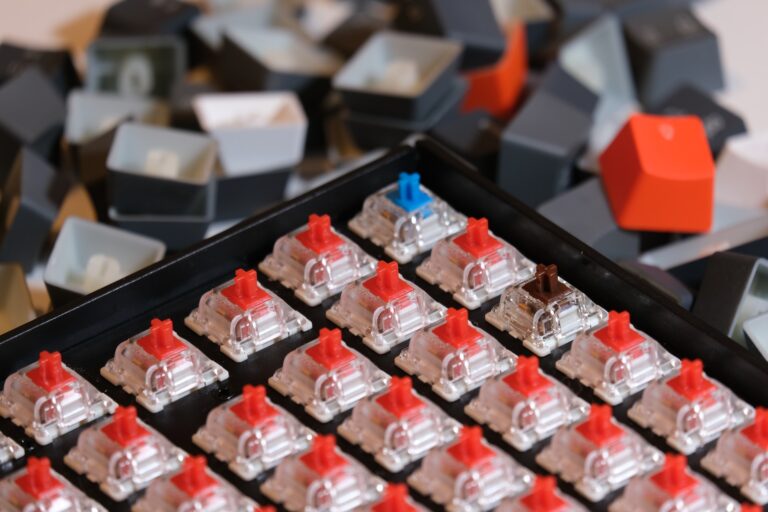
Mechanical switches are the key (no pun intended) to achieving that satisfying tactile feedback and distinct clickety-clack sound that makes mechanical keyboards so beloved by enthusiasts. These are the components that register each keystroke.
There are various types of switches to choose from, each offering a different feel and sound profile. Consider trying out different switches to see which one suits your typing style and preferences. Cherry MX, Gateron, and Kailh are some popular switch brands.
2. Keyboard PCB (Printed Circuit Board)
The PCB is the backbone of your keyboard, responsible for connecting the switches to the computer. It’s crucial to choose a high-quality PCB that is compatible with your chosen switches and layout. Consider the layout and features you desire, such as programmability or backlighting, when selecting a PCB.
There are pre-designed PCBs available that you can purchase, or if you’re feeling adventurous, you can even design your own PCB. Some PCBs offer hot-swappable sockets, allowing you to easily swap out switches without the need for soldering. This feature can be a game-changer for those who like to experiment with different switches or want the flexibility to customize their keyboard in the future.
3. Stabilizers
Stabilizers, from the name itself, are crucial for maintaining keycap stability. They are particularly important for larger keys like the spacebar, shift, and enter keys. Make sure to choose high-quality stabilizers to enhance the overall typing experience and avoid any wobbling or rattling when typing.
4. Keycaps
The cherry on top, keycaps are the first thing people notice about a mechanical keyboard. They add a touch of personality and customization. From vibrant colors to unique designs, keycaps allow you to truly make your keyboard your own.
Keycaps come in various materials, such as ABS plastic, PBT plastic, or even premium options like double-shot or dye-sublimated keycaps. Some keycap sets even come with additional novelty keys, allowing you to add a personal touch to your keyboard.
The choice of keycaps is not only about aesthetics though, but also about durability and feel. They can be found in different profiles, including OEM, Cherry, and DSA. It’s important to choose keycaps that not only look great but also provide a comfortable typing experience.
5. Keyboard Case
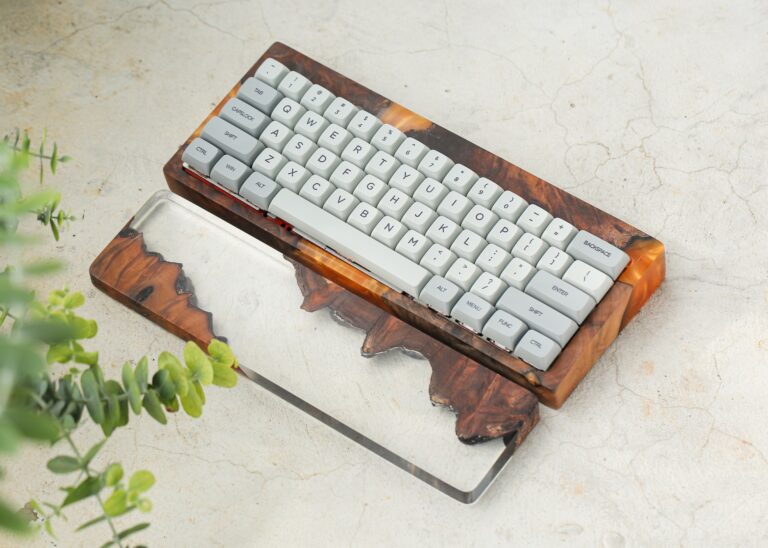
To complete your mechanical keyboard, you’ll need a sturdy and reliable case to house all the components. Keyboard cases are available in different materials, such as aluminum, plastic, or even wood. Each material offers a unique look and feel, so choose the one that resonates with your style.
Additionally, consider the keyboard’s form factor – whether you prefer a full-size keyboard, a compact tenkeyless (TKL) layout, or a 60% compact layout. The form factor will determine the size and layout of your keyboard, so make sure to select one that suits your needs.
6. Diodes and Resistors
Diodes and resistors are electronic components that are used to ensure proper functioning of the keyboard. They help prevent ghosting (when multiple keys are registered unintentionally) and allow for a smooth typing experience.
7. Soldering Iron and Solder
Building your own mechanical keyboard may require some basic soldering skills. If you opt for a DIY kit or want to customize your PCB, you will need a soldering iron and solder. These tools are essential for connecting the switches to the PCB. It’s worth investing in a good quality soldering iron to ensure precise and reliable connections.
8. Keycap Puller
When it’s time to swap or clean your keycaps, a keycap puller will become your best friend. This handy tool allows you to remove and replace keycaps easily without damaging them or the switches. Opt for a puller that suits your keyboard layout and keycap design.
9. Lubricant
Once you’ve assembled your keyboard, it’s a good idea to lubricate the switches to reduce friction and create a smoother typing experience and to reduce switch noise. There are various types of lubricants available, so make sure to choose one that is compatible with your switches.
Apply a small amount to the switch’s contact points to enhance the overall feel and sound of your keyboard. However, be cautious not to use too much, as it can affect the switch’s functionality.
10. Brush and Cleaning Supplies
To keep your mechanical keyboard in top shape, regular cleaning is essential. A small brush, compressed air, and cleaning solution can help remove dirt, dust, and debris from the switches and keycaps. Take care of your investment to ensure its longevity.
Conclusion
Building your own mechanical keyboard is a rewarding and fulfilling endeavor. It allows you to create a keyboard that perfectly suits your needs and preferences. From choosing the right switches to selecting unique keycaps, every aspect of this process is an opportunity for personalization. So, gather your tools, indulge in some research, and embark on the journey of building your dream mechanical keyboard.


